Pivotlar integrates seamlessly with Cloudflare to let you manage your DNS records directly from your dashboard — without switching between platforms. Whether you’re pointing your domain to your server or setting up email verification, DNS configuration is streamlined and accessible per site.
Note: To use this feature, ensure your Cloudflare API credentials are connected to your Pivotlar account. You can set this up under Cloudflare Provider page.
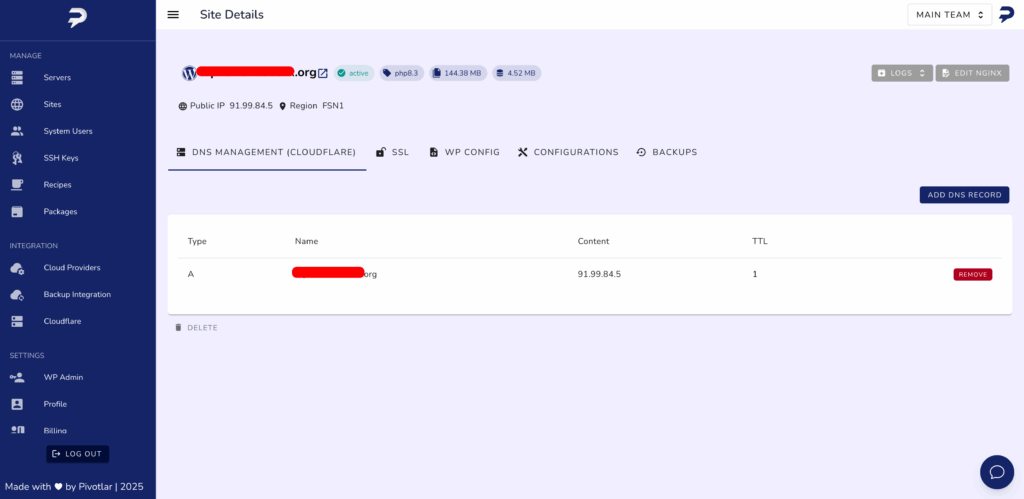
Access DNS Management for Your Site #
- From your Pivotlar dashboard, navigate to the Sites section.
- Locate the site whose DNS records you want to manage.
- Click on the site to access its details.
- Select DNS Management tab
Add a New DNS Record #
To add a DNS record:
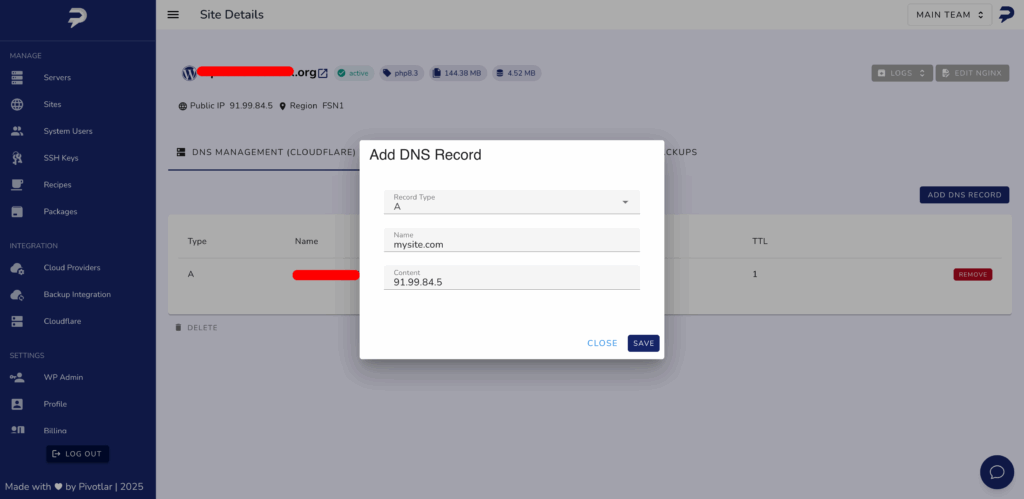
- In the DNS Management table, click Add DNS Record.
- A popup modal will appear prompting you to fill in the following details:
- Type: Select the DNS record type (e.g., A, CNAME, TXT, MX).
- Name: Enter the DNS name/subdomain (e.g.,
www,api, or leave blank for root@). - Content: Enter the record content.
- For A records, this should be your server’s IP address.
- For CNAME records, it could be another domain (e.g.,
yourapp.example.com).
- TTL and Proxy status (if available): Pivotlar will default these based on best practices.
- Click Add to submit.
Pivotlar will now automatically push this record to Cloudflare on your behalf.
Example: Add an A Record for Your Domain #
- Type: A
- Name:
@(for root domain) or mysite.com - Content: Your server’s IP address (e.g.,
192.0.2.123)
Click Add to save — your domain is now pointing to your Pivotlar server.
Tips and Notes #
- You can repeat the process to add multiple records.
- Any changes made through Pivotlar will be synced to your connected Cloudflare zone.
- For email setups, don’t forget to add MX, SPF, DKIM, and DMARC records as needed.
Need Help? #
Reach out to our support team via support@pivotlar.com


