This guide walks you through the process of provisioning a Vultr server directly within Pivotlar, using Vultr’s API. In this documentation, the terms “Instance” and “Server” are used interchangeably.
Step 1: Create a Vultr Account #
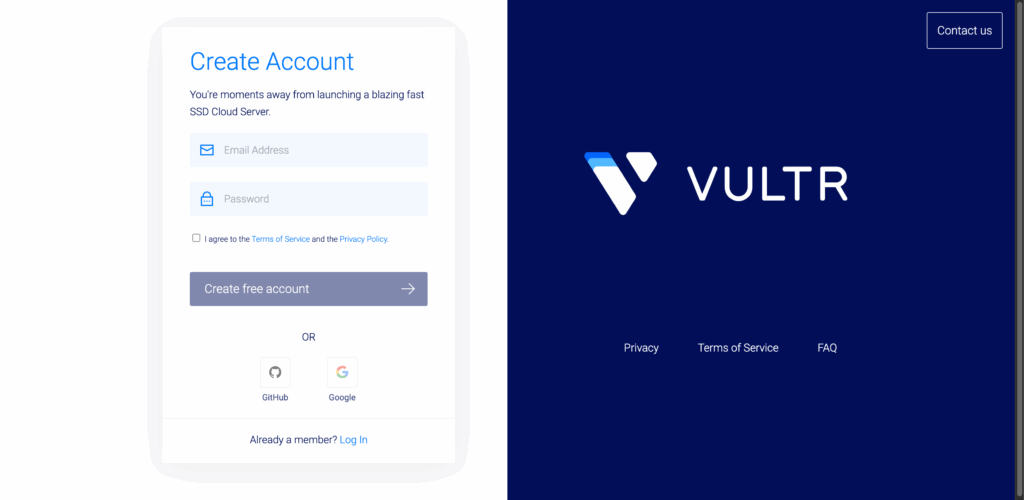
If you don’t have a Vultr account, visit vultr.com — you can often find free trial credits via a quick search.
- Log into your Vultr dashboard
- Complete the sign-up process
- Verify your email
Step 2: Enable Vultr API Access #
In the Vultr dashboard, click your profile icon in the top-right corner and go to API.
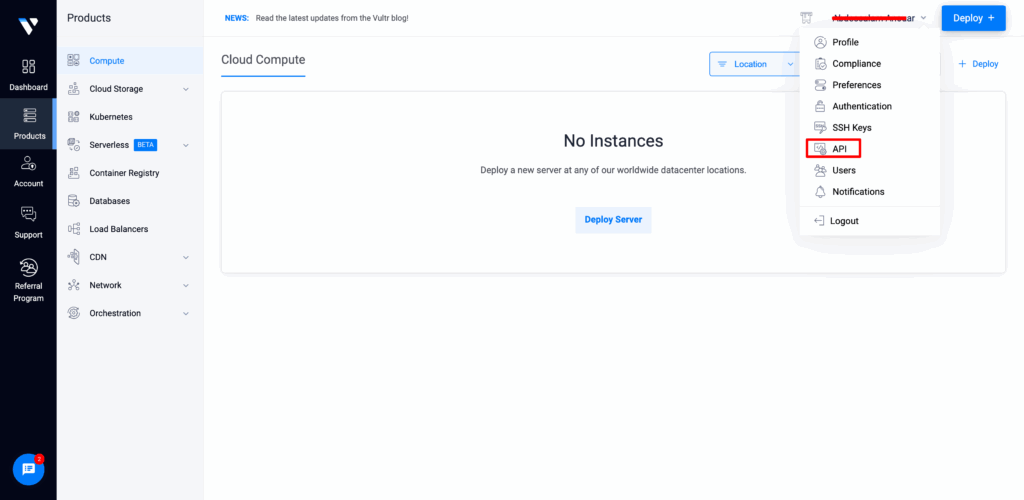
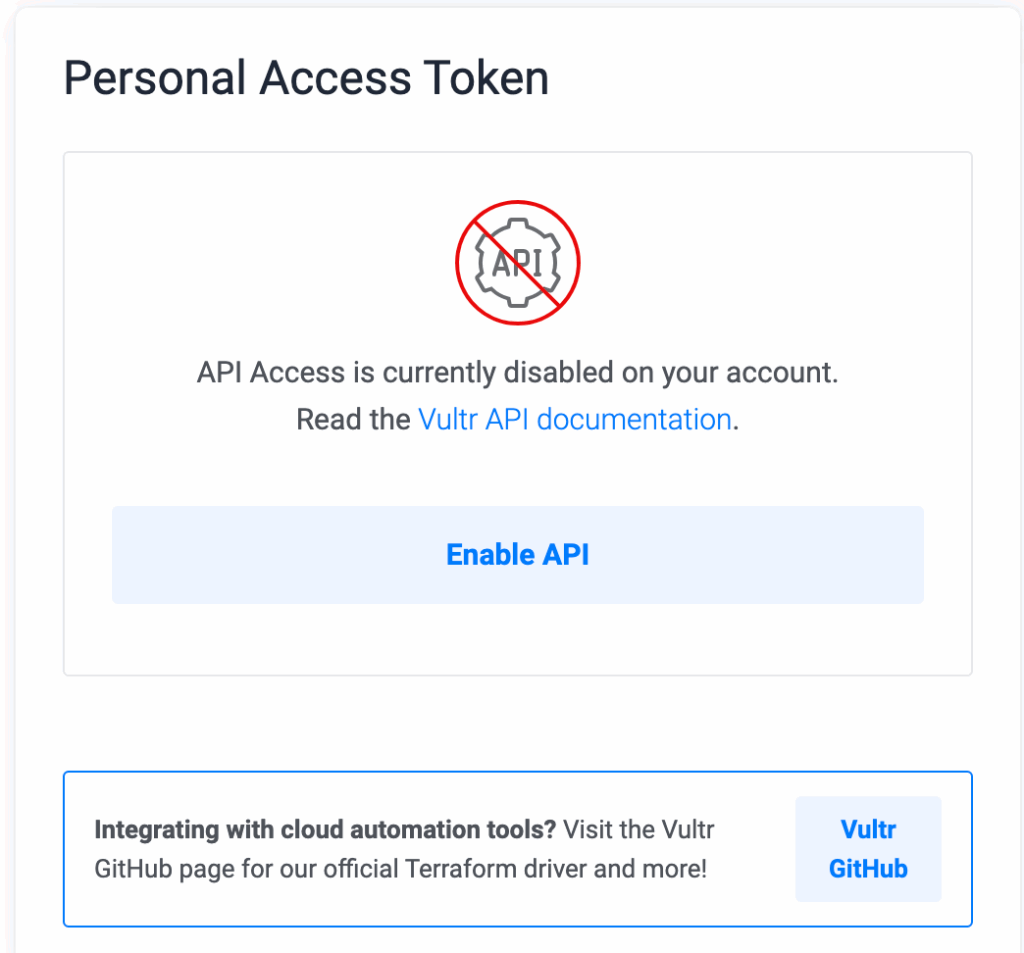
Click Enable API under the “Personal Access Token” section to activate your key.
Step 3: Whitelist Pivotlar IP Addresses #
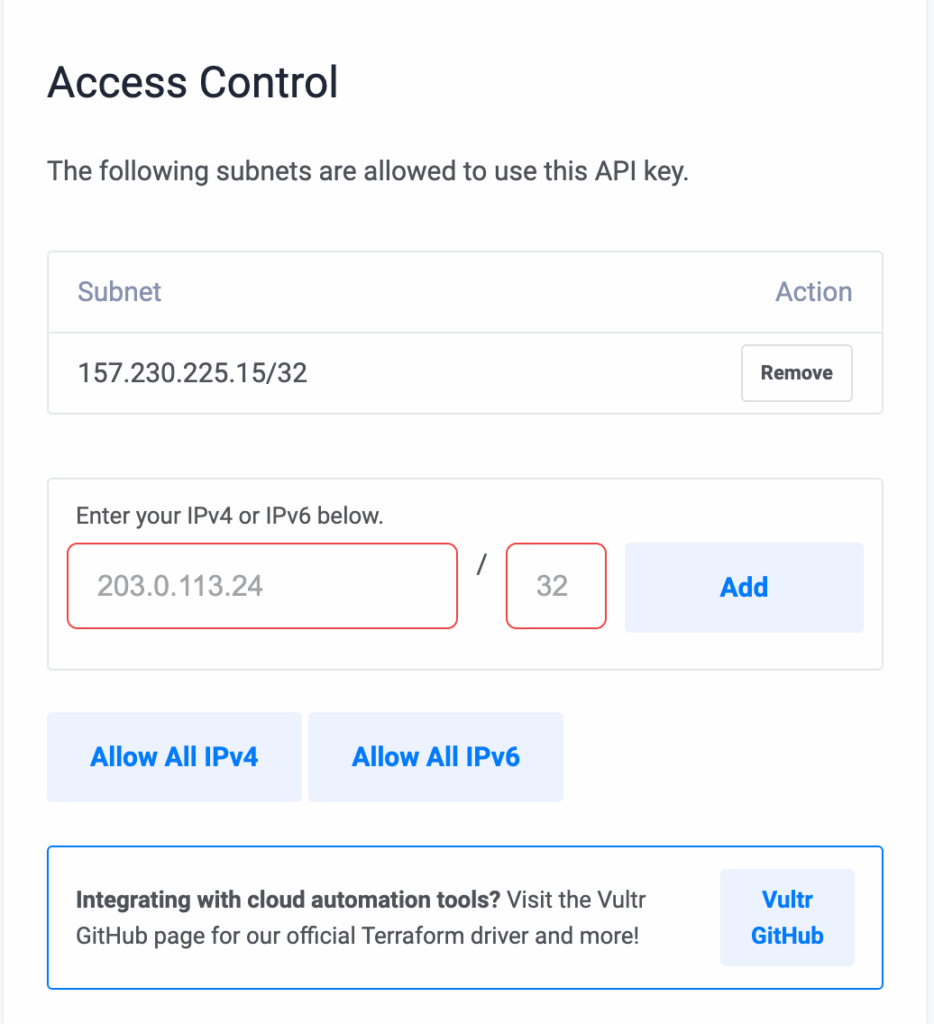
Once the Vultr API is enabled, follow these steps to whitelist the necessary IP addresses for secure platform integration:
- Go to your Vultr Dashboard
- Navigate to Account → API
- Locate the Access Control section
- Whitelist the following Pivotlar server IPv4 and IPv6 addresses to allow connection to your Vultr account:
157.230.225.152604:a880:400:d0::1fda:3001
You can add it within the Access Control panel.
Step 4: Copy Your Vultr API Token #
From the same API panel, copy your Personal Access Token. You’ll need this in the next step. Make sure you keep it safe and never expose it publicly.

Step 5: Add the Token to Pivotlar #
In your Pivotlar dashboard:
- Click on your Cloud Provider in the right-sidebar menu.
- Select the Vultr option
- Name the token for identification .
- Under API key, paste your Personal Access Token.
- Click Create button to complete the integration

Step 6: Provision Your Vultr Server #
With your token added, you can now provision a server:
- Go to the Servers page in Pivotlar.
- Click Provision Server and choose Vultr as the provider.
- Fill in:
- OS (We recommend Ubuntu 22.04 LTS)
- Server Name
- Plan
- Region
Click “Create” to start provisioning your server

Final Notes #
- You can provision multiple servers in parallel by repeating the steps above.
- To get started with your first WordPress site, head to the Sites section of your Pivotlar dashboard.
What’s Next? #
Now that your server is up and running, you’re ready to launch WordPress websites with a few clicks. Learn how to create your first site in our Deploying a WordPress Site guide.
Need Help? #
Reach out to our support team via support@pivotlar.com


